Create a Website without Coding
Codeless provides WordPress themes, web hosting reviews and guides to help you build and grow your website.
Who We Are
Codeless is a large group of passionate people that love building WordPress themes and educate anyone through guides on how to build a website without coding.
-
11 years of expertise
We have more than 11 years building premium plugins, WordPress themes and guides.
-
Build and grow your website
Explore our guides and reviews to learn how to create and grow your website without coding skills.
-
Totally Free Content & Insights
Our team makes even the most complicated topics simple to understand. Totally free! Learn more about us.
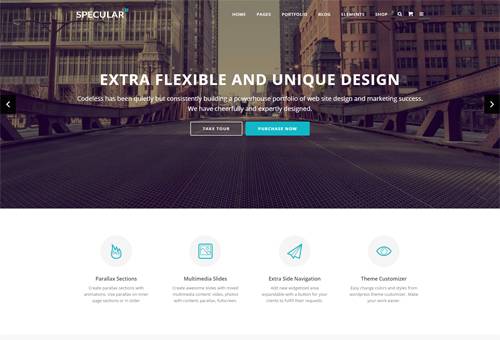
Our Codeless Themes
From our latest theme releases to our most popular WordPress themes, browse and find a theme that fits your business.


WordPress Guides
Latest Articles
New content is published every week on the Codeless website. Read our blog and stay updated with the latest guides and reviews.


Business Software & Tools, Web Design & Development

