We are going to explain today the Install/Import of Demo Data/Content/Dummy Data/Sample Data/XML on WordPress themes.
Demo or Dummy Data is the theme content that needs to be imported to your WordPress for the Theme to function and to be displayed properly. The Demo Data importer depends on the technology that the theme is using. Manually you can import the Demo Data on Dashboard > Your Theme > Import/Export (Dummy Data). Here you choose your demo and install it.
But today we are showing how you can do this with examples. We are taking into consideration Folie Theme, Specular Theme and Bridge Theme. Let's get started!

Folie WordPress Theme is our Newest Product, build with the innovative Codeless Builder. Check it out here.
Installing Demo Data With Folie is simple :
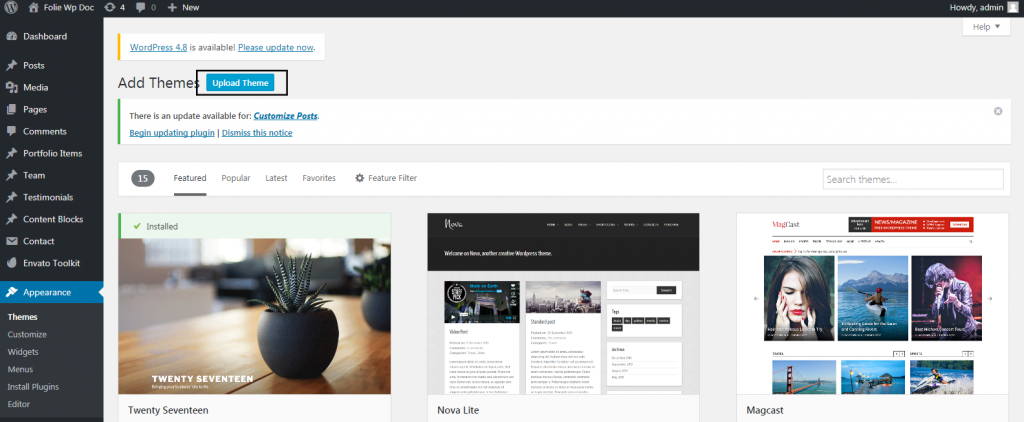
- First Upload the theme :
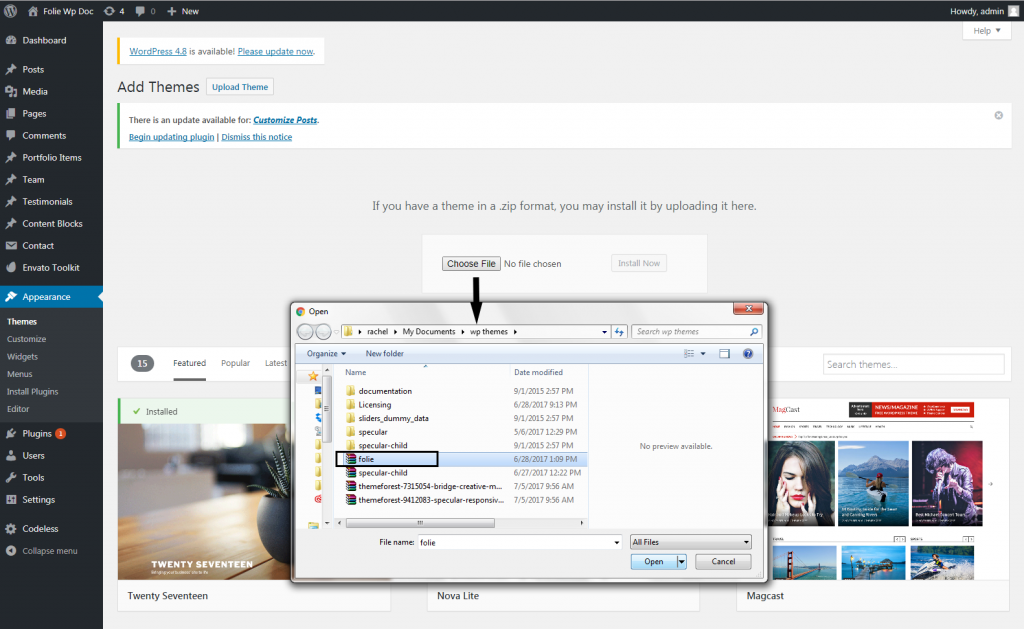
- Be careful to choose the zipped file that includes only the installable theme files :
- Before Importing your demo data with Folie, you need to Register the Theme Purchase. That means that you have to enter the Purchase Code and Email Address, for a secure setup. We have explained this on Folie Documentation and on the Video Installation.
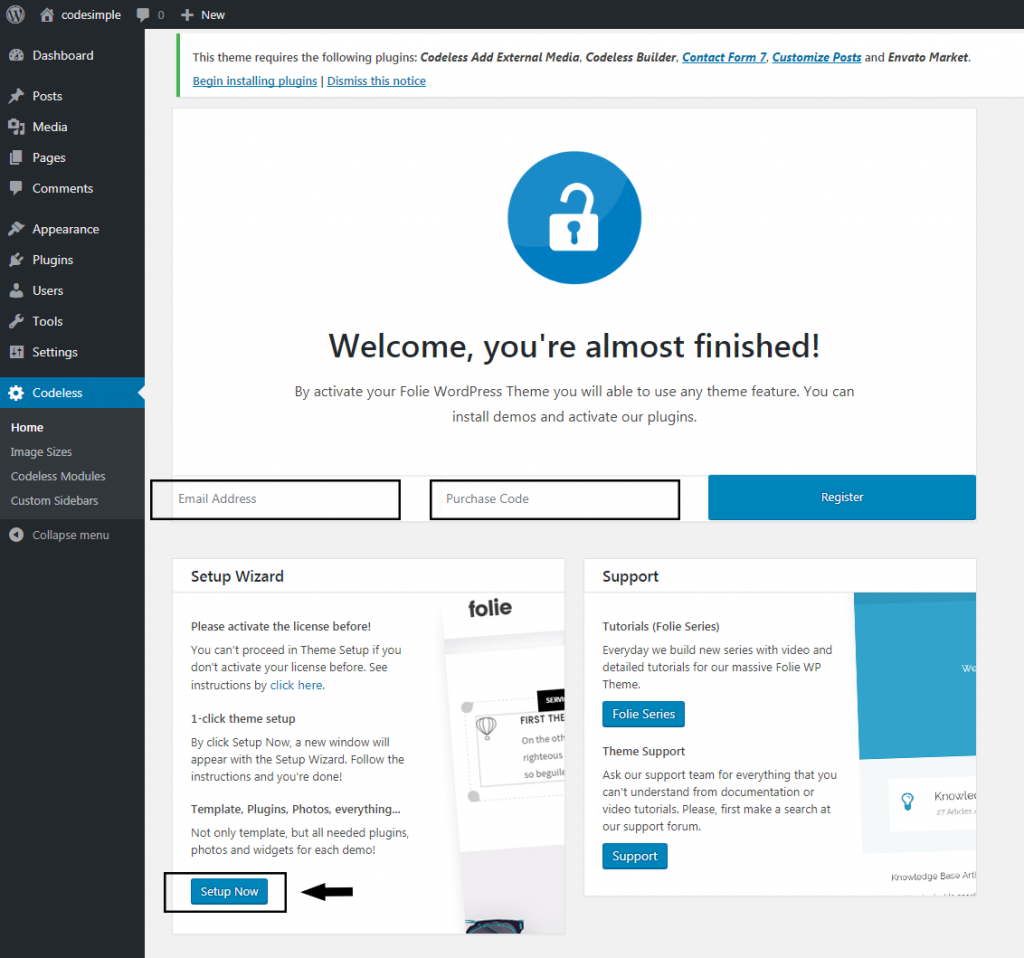
- Than you can Setup the Theme and start the Demo Install. Choose one of the pre created demos :
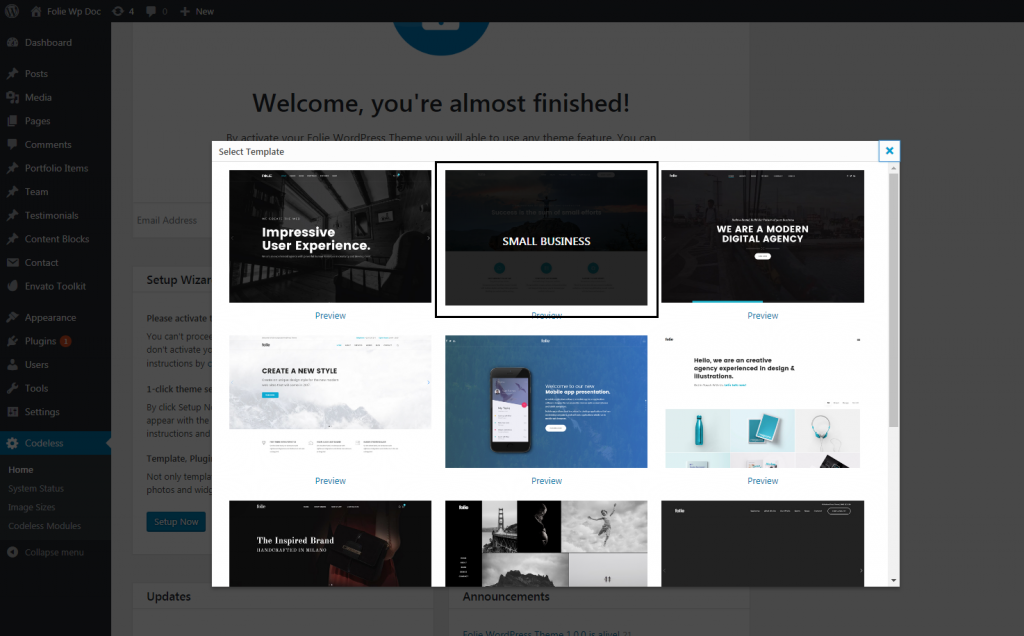
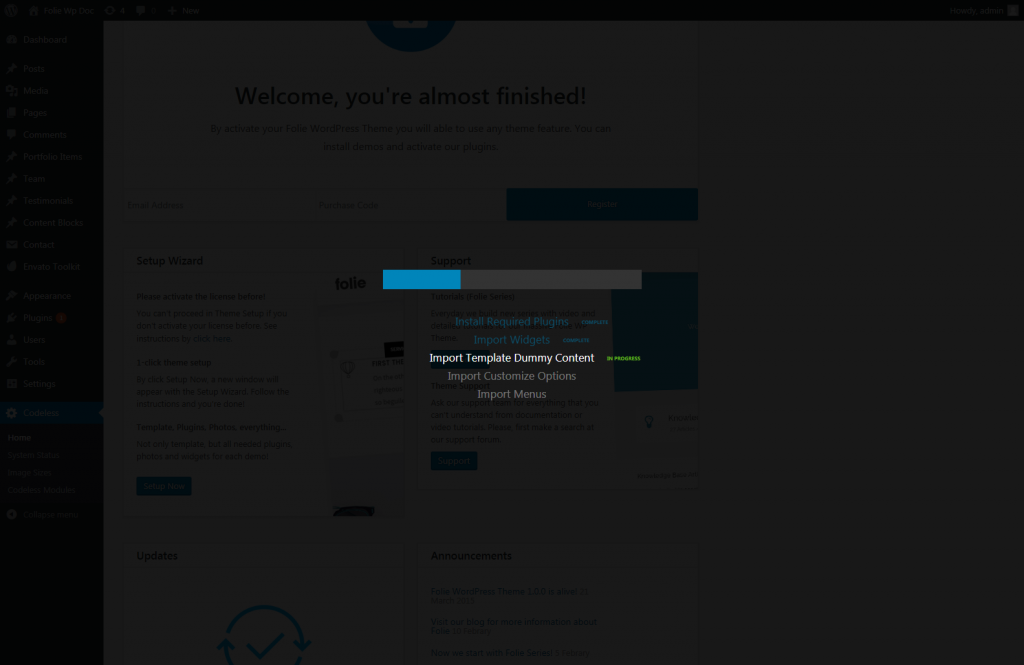
- The install will be ready in a few . It will :
- Install the Plugins
- Import Widgets
- Import Template Demo Content
- Import Customize Options
- Import Menus
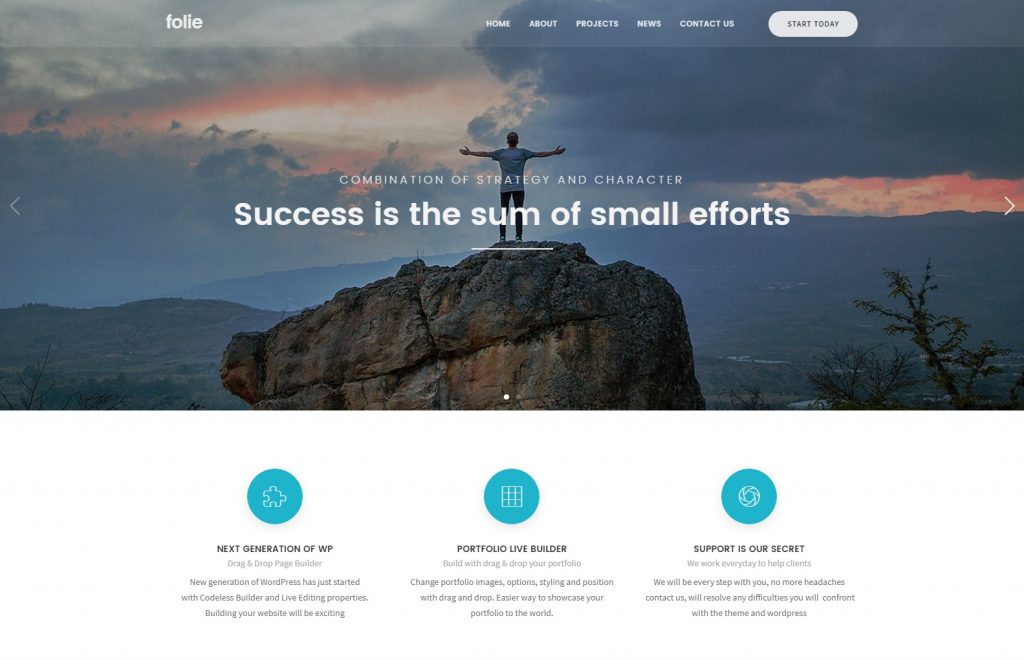
Enjoy your new website with Folie Theme !

With Specular WordPress Theme the Demo Data is installed with the innovative Setup Wizard technology, but you can always use the manual way.
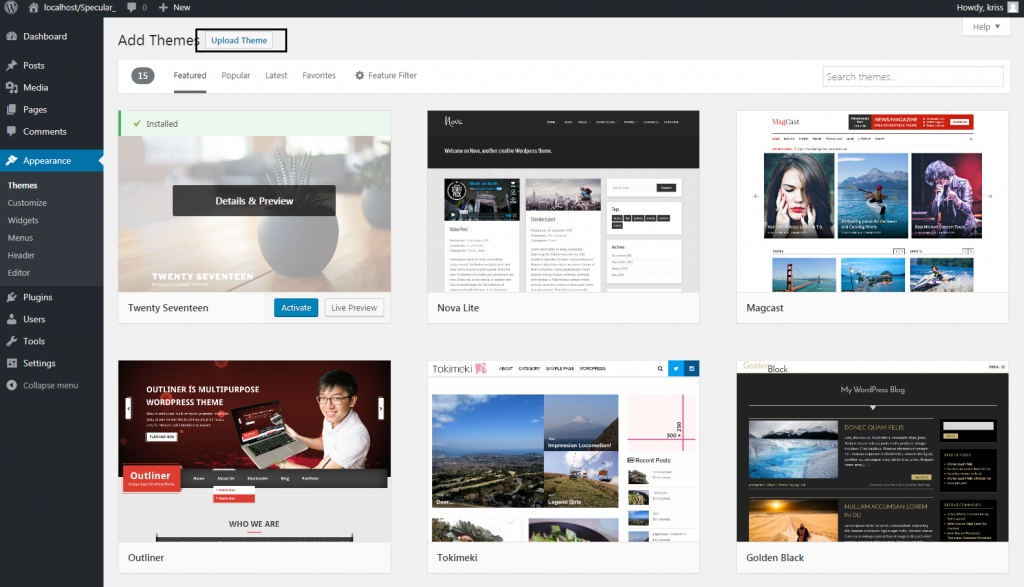
- First Upload the theme :
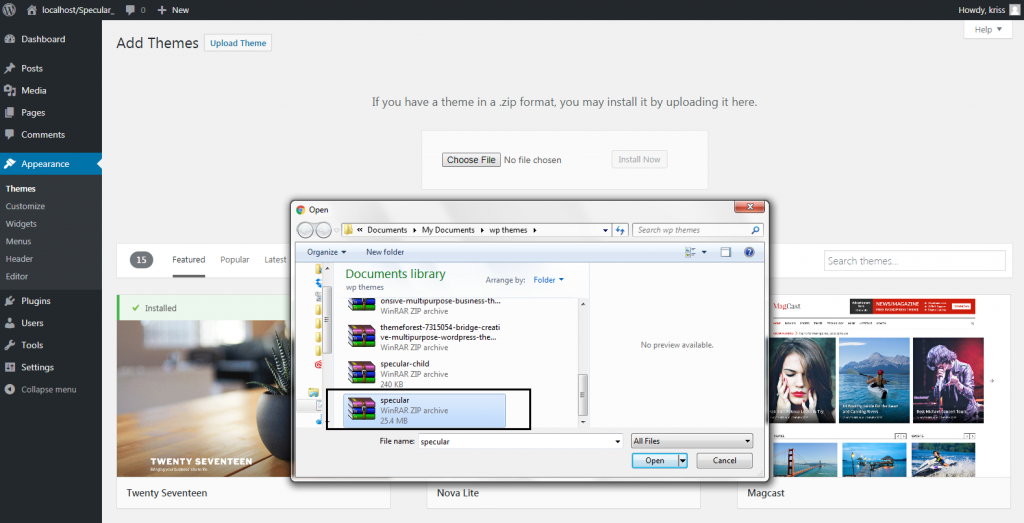
- Be careful to choose the zipped file that includes only the installable theme files :
- After the theme is installed to WordPress you will be directed to the Setup Wizard Panel :
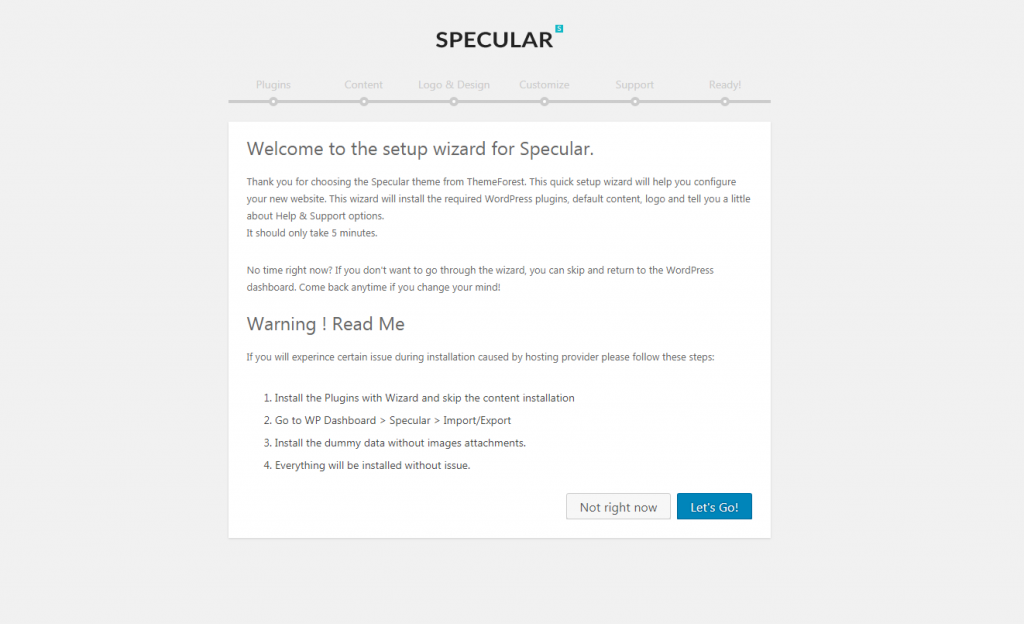
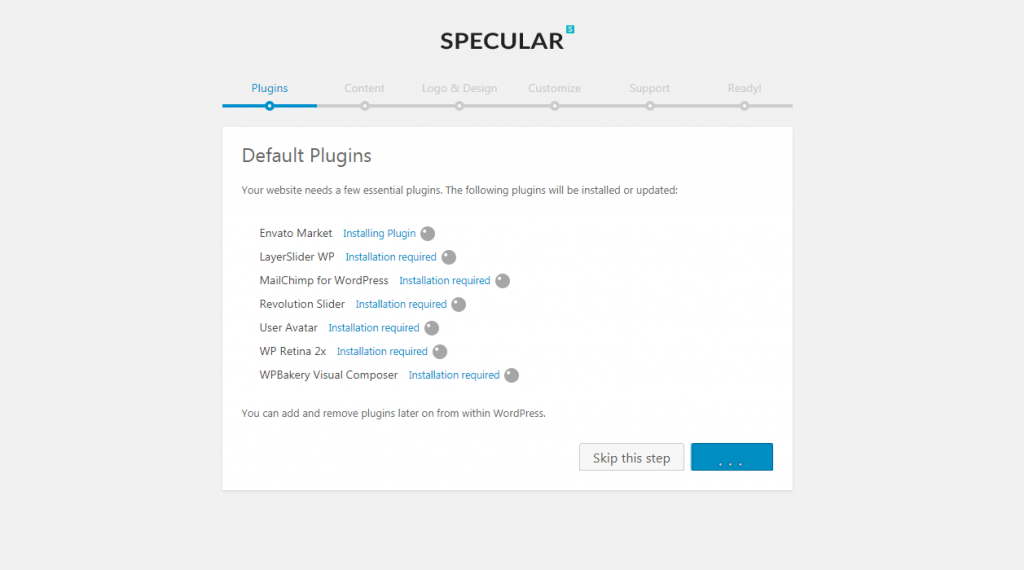
- Click Let's Go. On the next step the required Plugins will be installed :
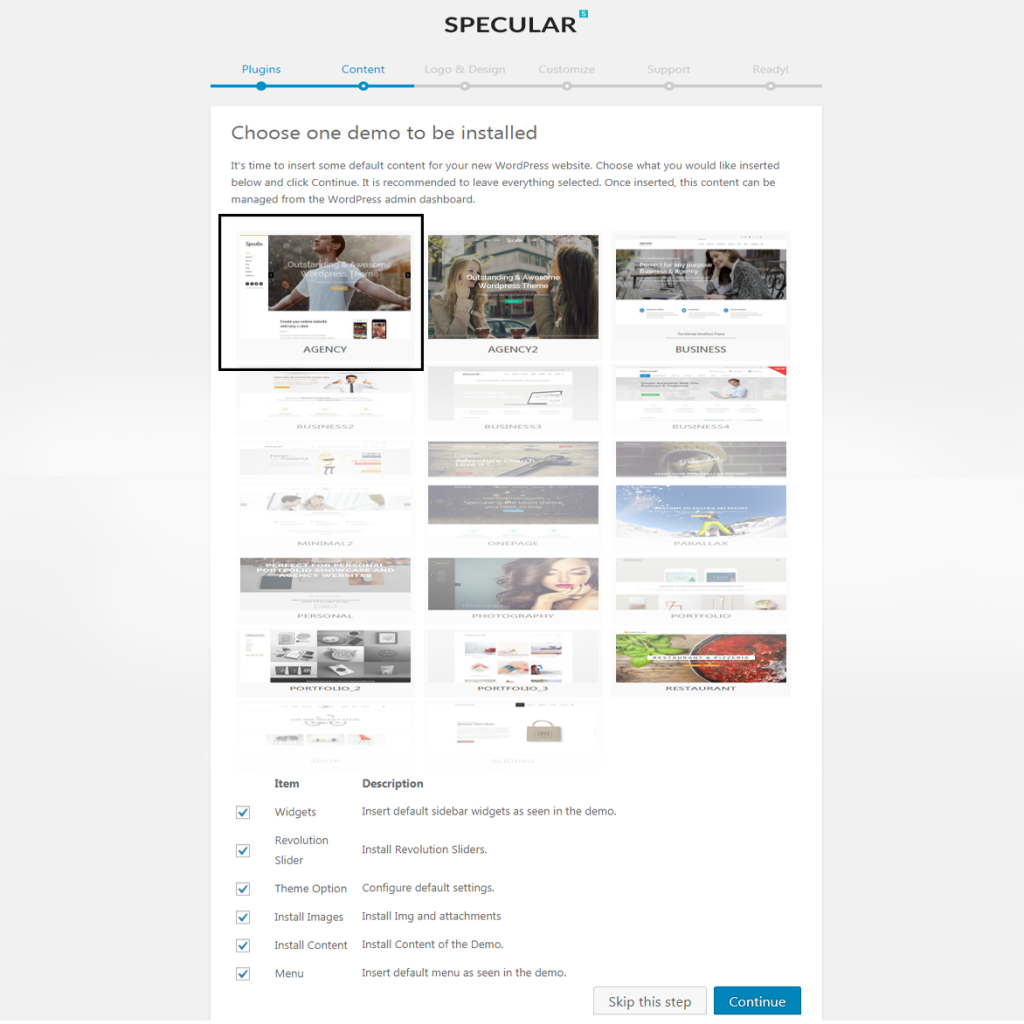
- Than you can choose the Demo Data you want to install on the next panel. Here you can also choose if you want to :
- Import Widgets
- Import Revolution Slider
- Import Theme Options
- Import Images
- Import Content
- Import Menus
These options are all selected by default, but you can change it. Click Continue and wait for them to be installed all at once.
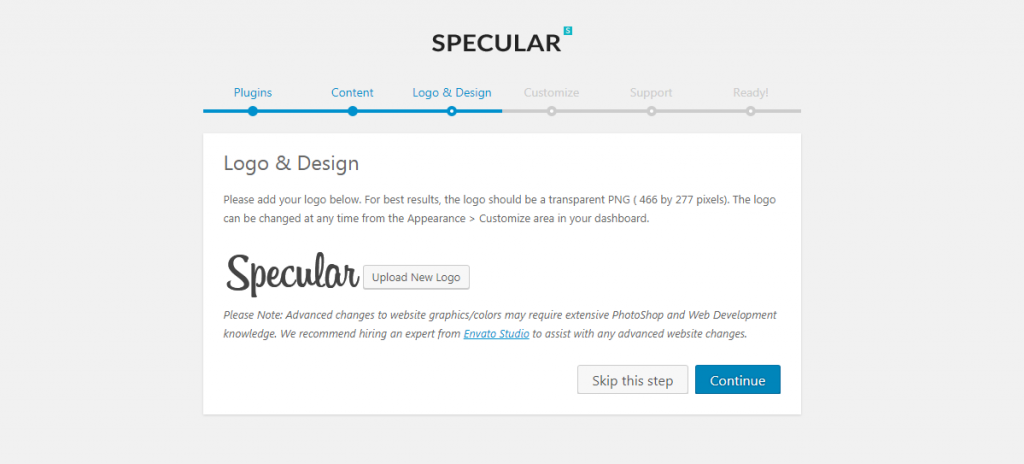
- Choose the Logo here :
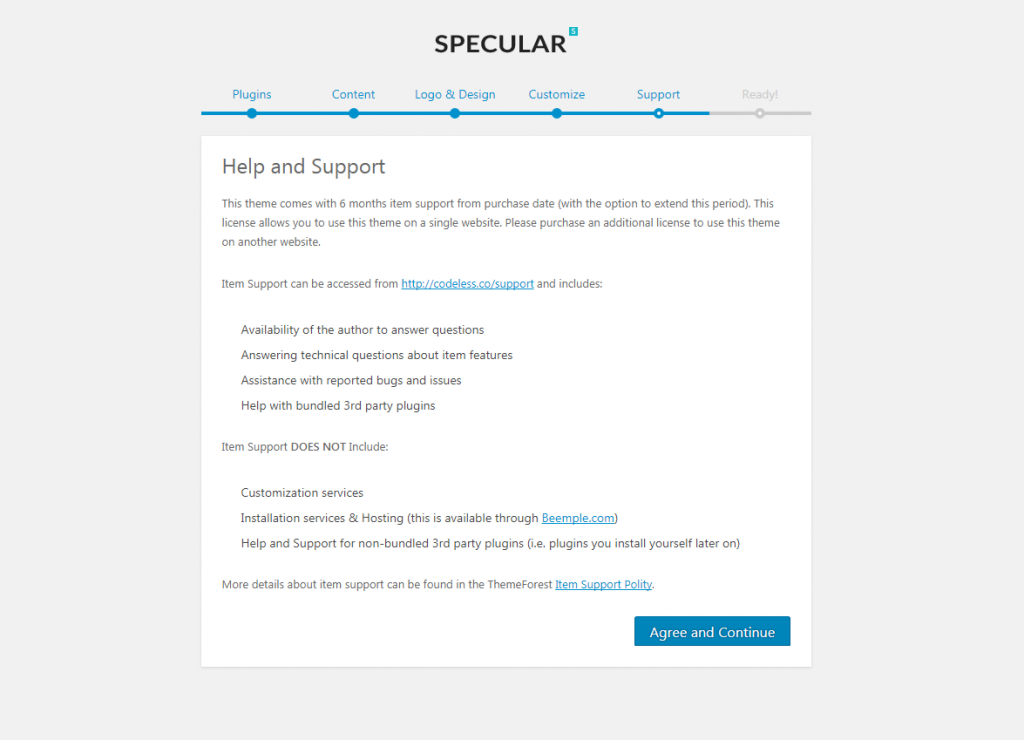
- Here you can read the Support Policy and some other informations about the theme :
- Click View you New Website :
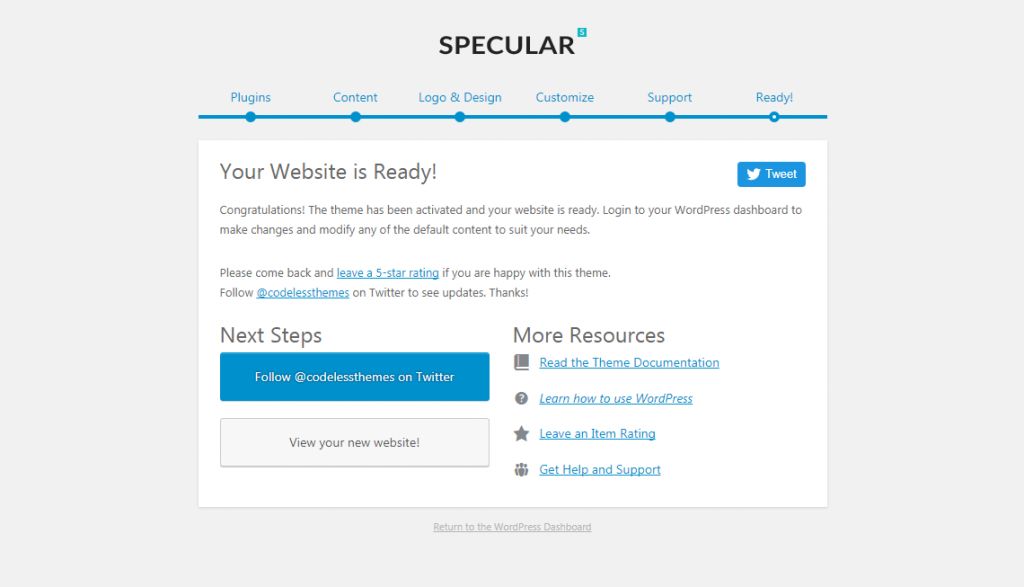
- And you're done! Enjoy your new website with Specular Theme 🙂 .


Bridge WordPress Theme is one of the mos selling Themes on Envato Market. We are going to see how you can import your Demo Data with this popular theme also.
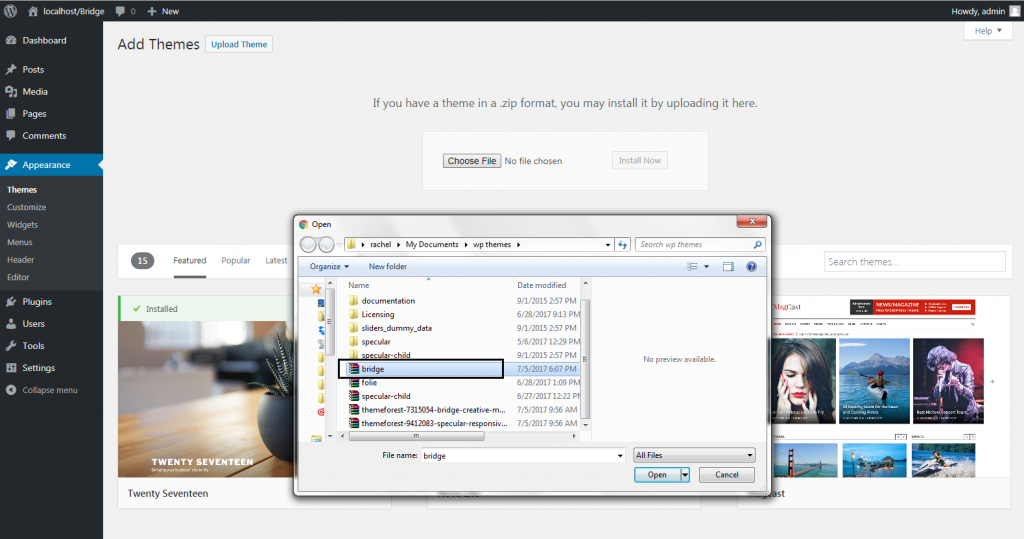
- Like on the other themes first Upload the theme and be careful to choose zipped file that includes only the installable theme files :
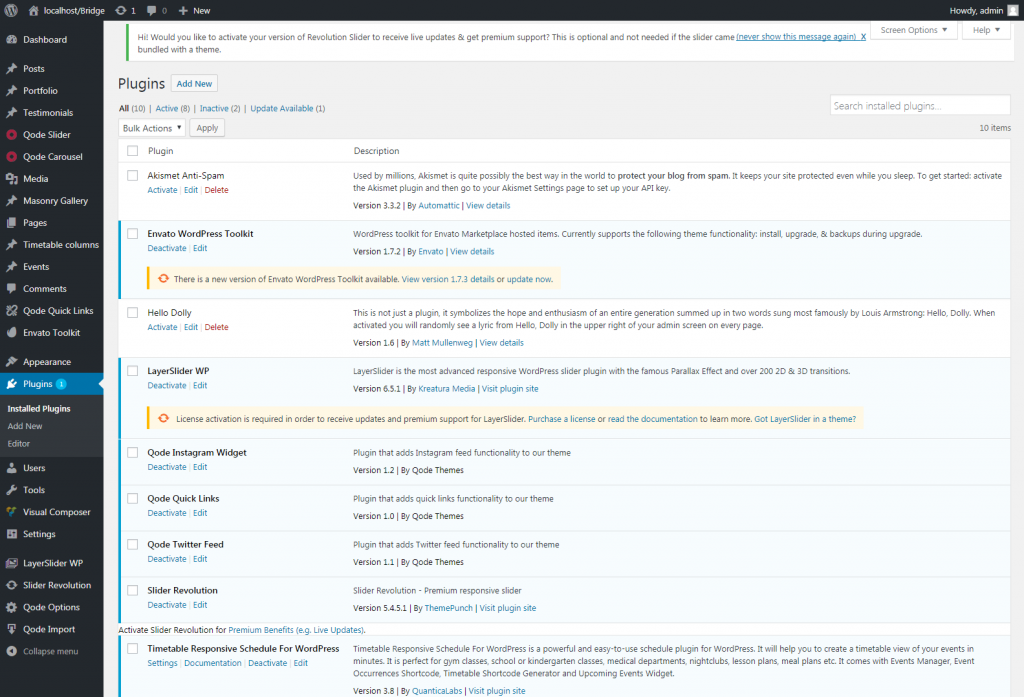
- Once the theme is installed and activated, we need to install the Required Plugins next. Click on the Notification that says Install Plugins or go to Dashboard > Plugins. Install them manually. After installing them don't forget to also Activate them.
- Go to Dashboard > Qode Import and let's start the import of Demo Data :
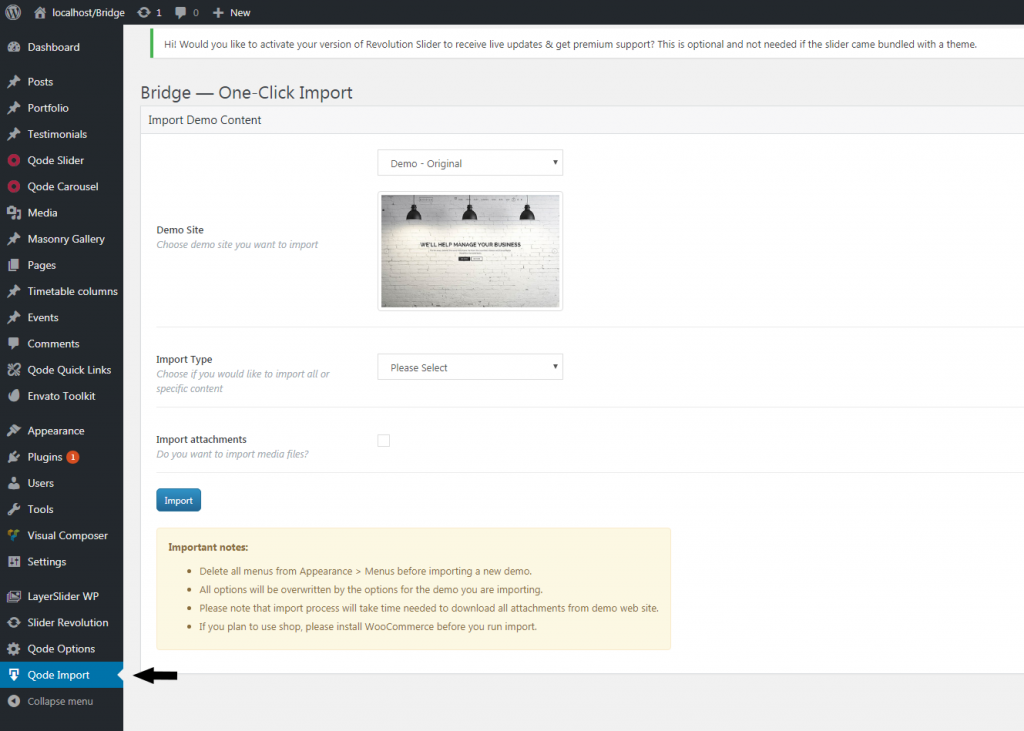
- Select the Demo site you want to import and choose if you want to import all the Content at once :
- Import Widgets
- Import Theme Options
- Import Content
- Import Attachments – select if you want to import images
or choose a specific one. Click Import.
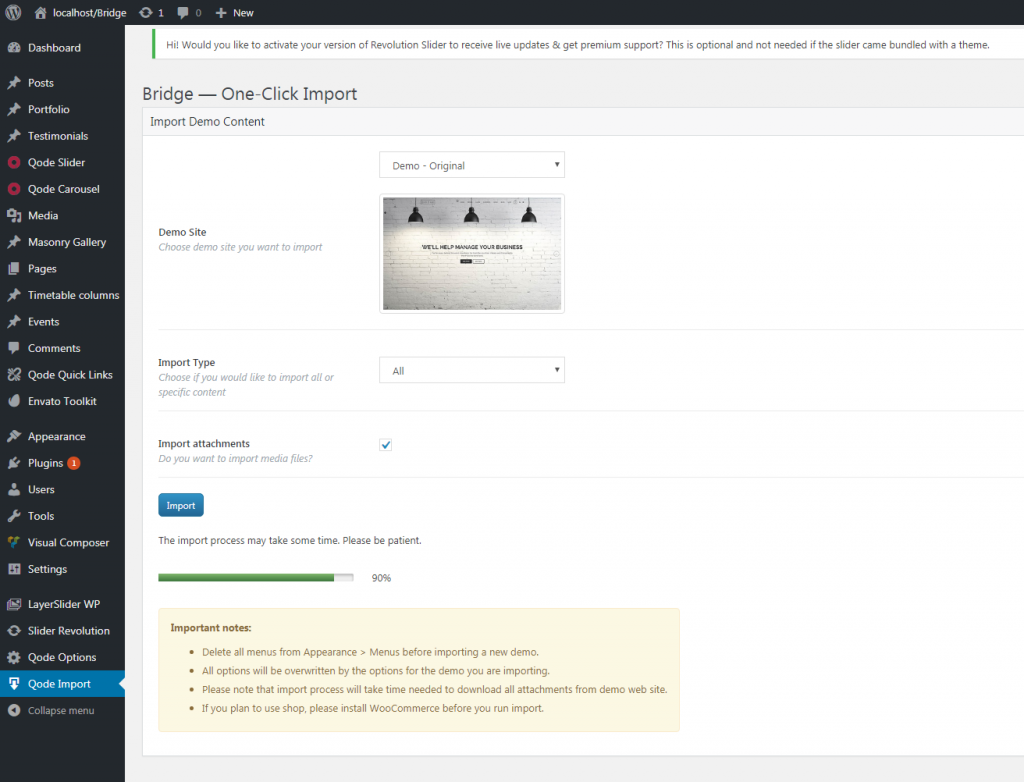
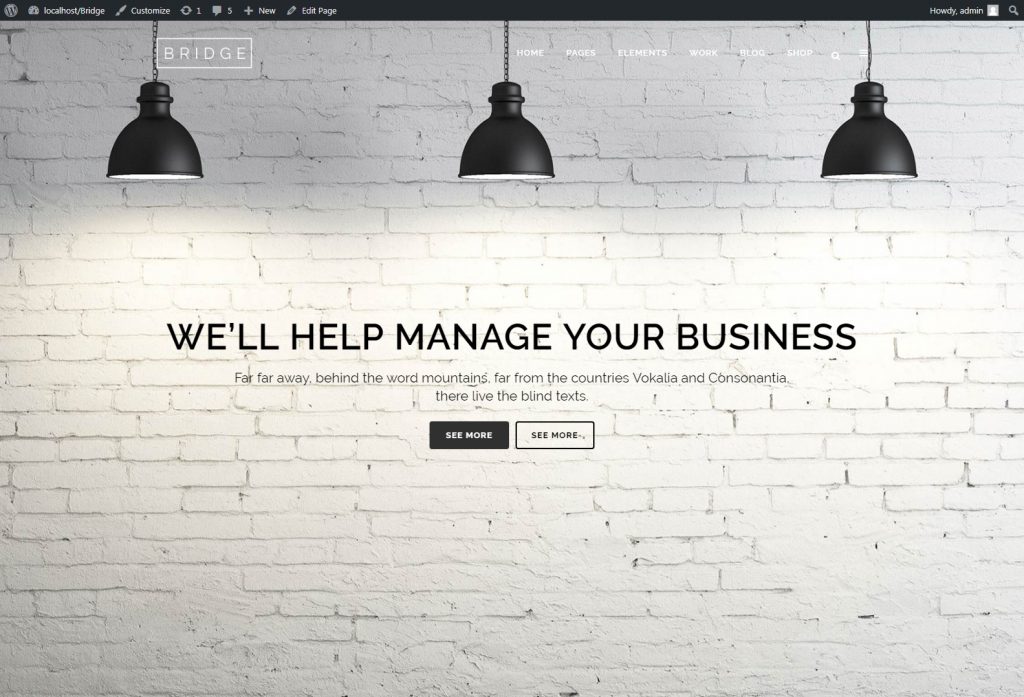
- And you're done! Enjoy your new website with Bride Theme.
All the themes have their own system to upload the Demo Data successfully and without wasting your time. The choice of the method of import depends on the customers. We always want to improve and we think that the Setup Wizard method of the Data Install is taking over.
Ludjon, who co-founded Codeless, possesses a deep passion for technology and the web. With over a decade of experience in constructing websites and developing widely-used WordPress themes, Ludjon has established himself as an accomplished expert in the field.





Comments