Converting Figma to WordPress is a trend that has gained immense popularity in recent years. In this article, we'll take a closer look at the two platforms and why converting Figma designs to WordPress websites is essential.
We'll also discuss Elementor, a powerful page builder for WordPress that can make the conversion process seamless and user-friendly.
Figma is a comprehensive design platform that offers tools for designing, prototyping, and building solutions for various industries. With notable users such as Zoom, Spotify, and Material Design, Figma has become a go-to platform for UI and UX designers.
On the other hand, WordPress is a popular content management system (CMS) used worldwide to create websites, blogs, and e-commerce platforms. According to W3Techs, WordPress powers over 40% of all websites on the internet.
If you want to try and you don't have a ready design check our article here with ready free Figma templates
Importance of Converting Figma Designs to WordPress Websites
Converting Figma designs to WordPress websites is crucial for several reasons. Firstly, it allows designers to maintain consistency and usability across all designs, ensuring that the website aligns with the brand's visual identity.
Secondly, it streamlines the development process, as developers can easily translate Figma designs into functional WordPress themes.
Lastly, it promotes collaboration between designers and developers, preventing miscommunication and ensuring that the end product meets the client's expectations.
Introduction to Elementor WordPress Page Builder
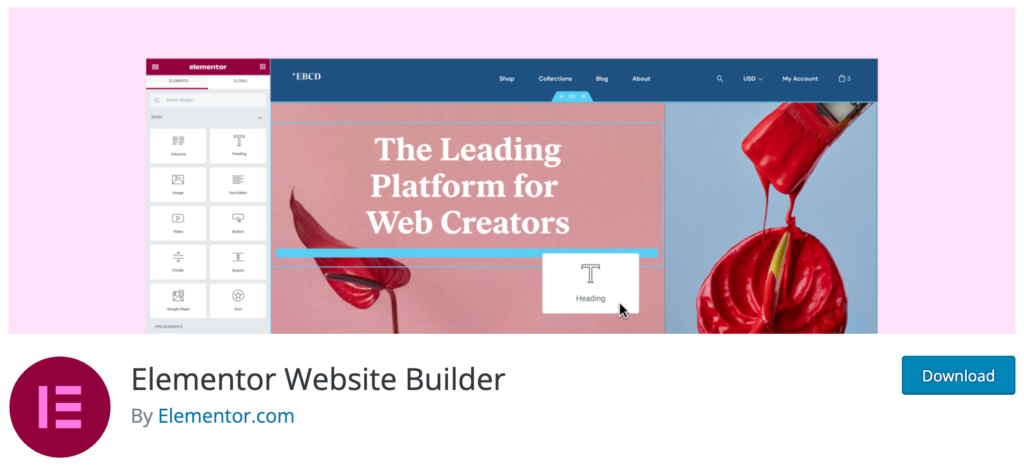
Elementor is an all-in-one website builder that we will use in the process of converting Figma designs to WordPress websites. It offers a drag-and-drop interface, making it an ideal method for beginners and those seeking a quick solution.
With Elementor, you can build customized themes, design separate pages, and add content to each page effortlessly.
Also, it allows for building complex designs through its advanced options.
Elementor is compatible with various WordPress themes, allowing you to blend themes and page builders when transferring HTML code to WordPress websites.
This compatibility ensures a smooth transition and minimizes potential issues that may arise during the conversion process.
In conclusion, converting Figma designs to WordPress websites is a vital step for businesses seeking a cohesive online presence.
With platforms like Elementor, the process has become more accessible and efficient, allowing designers and developers to collaborate effectively and deliver better products faster.
Lastly, you can also use the WordPress FSE themes instead of Elementor.
Understanding Figma
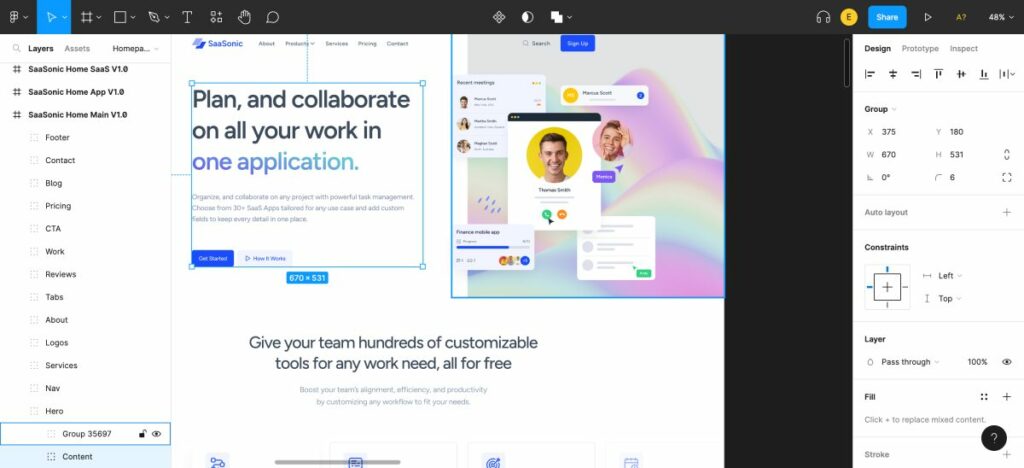
Figma is a powerful design platform that offers a wide range of features and capabilities for designers and teams. Its key design features include vector editing tools, prototyping, responsive design, and auto-layout.
These tools enable designers to create pixel-perfect UI and UX designs, wireframes, and mockups efficiently.
Additionally, Figma's real-time collaboration feature allows teams to work together on the same file simultaneously, ensuring a seamless design process.
This feature is particularly useful for remote teams or those working on complex projects, as it eliminates the need for file versioning and simplifies design handoffs.
Preparing Figma designs for WordPress conversion
Preparing your Figma designs for WordPress conversion is crucial to ensure a smooth transition and maintain the integrity of your design.
Proper preparation helps minimize potential errors and reduces the time spent on adjustments during the conversion process.
By optimizing your Figma design files and organizing them effectively, you can easily facilitate the conversion process and ensure that your WordPress site accurately reflects your original design.
Tips for organizing and structuring Figma design files effectively
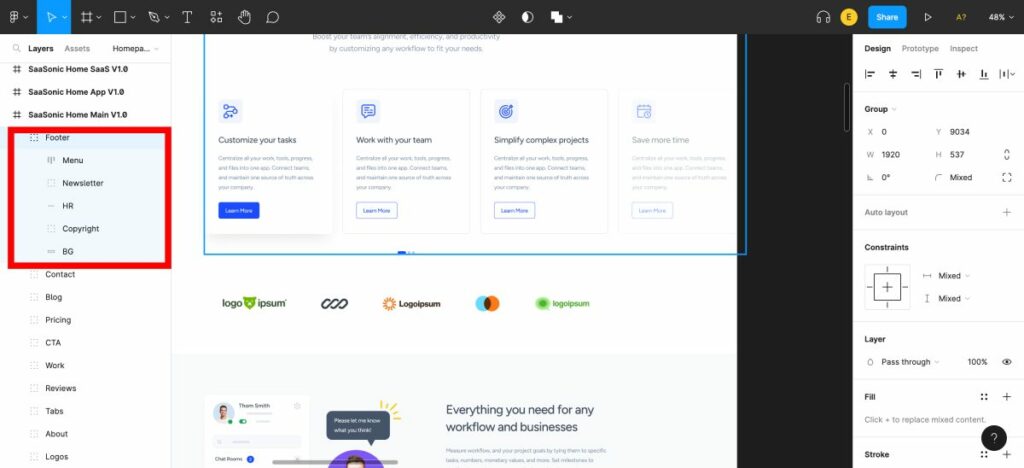
1. Use naming conventions: Establish a consistent naming convention for your layers, frames, and components to make it easier for developers to understand the structure of your design file. This also helps maintain consistency across different projects and team members.
2. Group-related elements: Organize your design elements into groups or frames, making it easier to navigate the file and locate specific elements during the conversion process.
3. Use components and styles: Utilize Figma's components and styles features to maintain consistency across your design elements. This not only simplifies the design process but also ensures that your WordPress site maintains a consistent look and feel.
4. Optimize images and assets: Compress images and other design assets to reduce file sizes and improve the performance of your WordPress site. This can be done using Figma's built-in optimization tools or third-party plugins like TinyImage.
5. Utilize plugins: Leverage Figma plugins such as Design Lint, Unsplash, and Stark to improve your design efficiency and automate repetitive tasks. These plugins can help you maintain design standards, streamline your workflow, and ultimately make the WordPress conversion process smoother.
By following these tips and taking advantage of Figma's powerful design features and capabilities, you can effectively prepare your design files for WordPress conversion and create a seamless, high-quality website.
Setting Up WordPress and Installing Elementor
Before you can convert your Figma design to WordPress, you'll need to have a WordPress installation up and running.
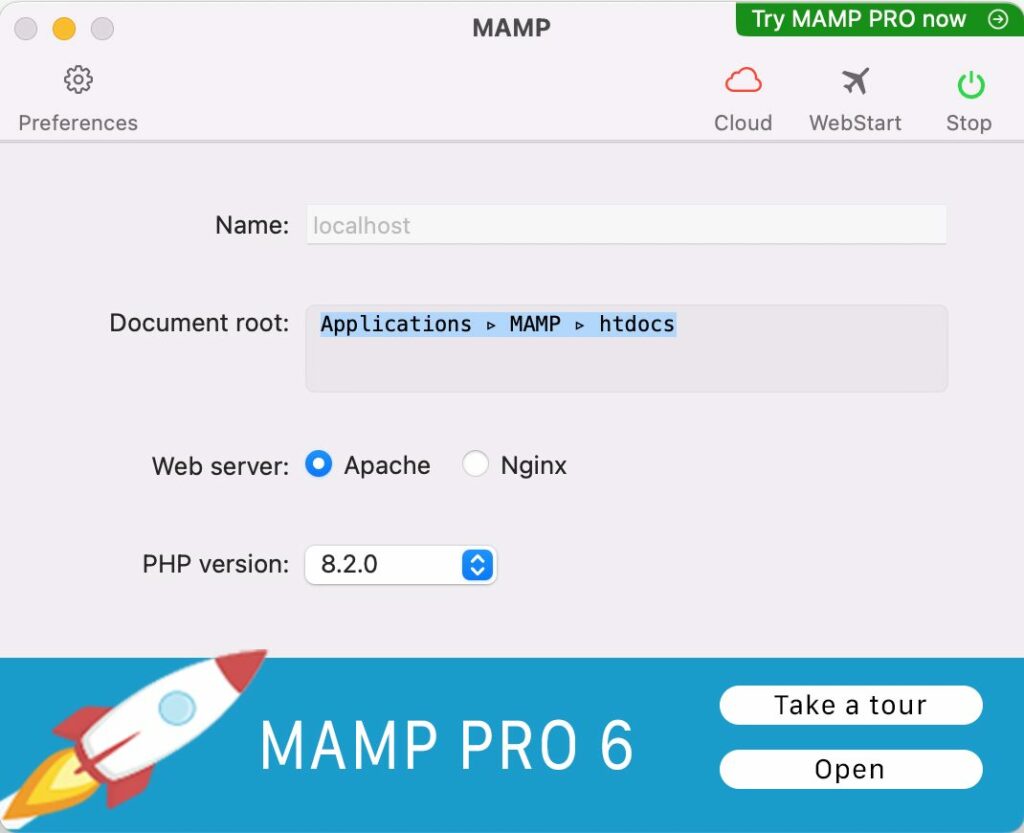
There are two main ways to do this: by setting up a local server or choosing a web hosting provider. If you're new to WordPress, a local server like MAMP or Local can be a good choice for experimenting and learning. You can also consult our guide here on How to Install WordPress locally
For live websites, you'll need to choose a reliable web hosting provider. Some popular options include Bluehost, Hostinger, and WP Engine. These providers offer various pricing plans and features to suit different needs.
Configuring WordPress Settings
Once you've chosen your hosting provider, you'll need to configure the WordPress settings and create a new installation. This usually involves creating a database, uploading the WordPress files, and following the installation prompts. Most hosting providers offer a one-click installation process, making it quick and easy.
This is our full guide on how to Install WordPress and Configure it.
Once installed, you'll need to configure your website's basic settings, such as the site title, tagline, and permalink structure. This will help with your website's overall user experience and SEO.
Installing and activating the Elementor plugin in WordPress
After setting up WordPress, it's time to install and activate the Elementor plugin. Elementor is a powerful, user-friendly page builder that makes it easy to convert your Figma design into a fully-functional WordPress website.
To install Elementor, head over to your WordPress dashboard, navigate to “Plugins” and then “Add New”. Search for “Elementor” and click “Install Now” followed by “Activate”.
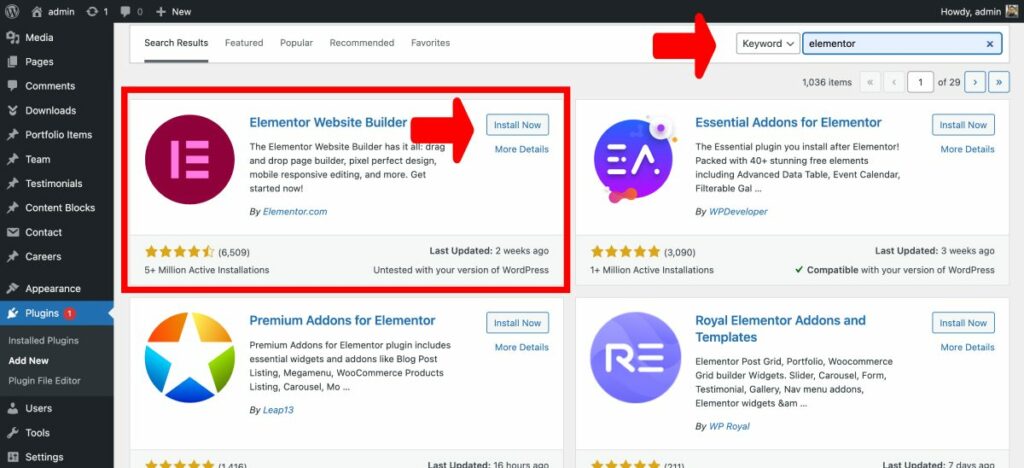
Once activated, you'll have access to Elementor's drag-and-drop interface, allowing you to easily recreate your Figma design within WordPress.
If you want to read a more in-depth guide please read: How to Install a WordPress Plugin
Using a page builder like Elementor is ideal for both beginners and experienced users, as it simplifies the design process and allows for quick project completion.
With its extensive library of customizable blocks, you can design unique themes and page layouts that perfectly match your Figma prototype. Furthermore, Elementor's seamless integration with WordPress ensures smooth content transfer, making the entire conversion process a breeze.
Converting Figma designs to WordPress can be a smooth process, especially when you're using page builders like Elementor, which offers an easy-to-use drag and drop interface.
This method is perfect for beginners and those who want to get the job done quickly. It's essential to know how to export Figma assets and organize them properly for an efficient conversion process. In this section, we'll discuss exporting design assets from Figma and organizing them for easy access.
Exporting Figma Assets
Exporting assets from Figma is a crucial step in the conversion process. This includes images, icons, and fonts, which will be used later in your WordPress theme or page builder.
Figma makes exporting assets simple, and you can even use some helpful plugins to streamline the process. Let's dive into the steps for exporting design assets from Figma.
Exporting design assets (images, icons, fonts) from Figma
To export design assets from Figma, follow these steps:
- Select the layers or objects you want to export. You can use the Layers Panel or click directly on the canvas.
- Open the Export Panel in the right sidebar.
- Choose the desired file format (PNG, JPG, SVG, etc.) and adjust the settings accordingly.
- Click on the ‘Export' button to save the assets to your computer.
For a more visual explanation, you can check out this YouTube tutorial on exporting assets from Figma.
Organizing and saving the exported
Proper organization of your exported assets is crucial for a seamless conversion process. Here are some tips for organizing your assets:
- Create a folder structure that mirrors your Figma design's hierarchy. This will make it easier to locate specific assets as you work on your WordPress site.
- Use descriptive filenames for your assets, including images, icons, and fonts. This will help you quickly identify the correct files during the conversion process.
- Consider using cloud storage services like Google Drive, Dropbox, or OneDrive to store your assets. This will make it easier to access your files from any device and share them with your team if needed.
By following these steps, you'll have an organized and easily accessible library of design assets, ready for use during the Figma to WordPress conversion process.
In conclusion, exporting and organizing your design assets from Figma is a vital step in the conversion process.
By following the steps outlined above and using helpful resources like YouTube tutorials and community plugins, you'll be well on your way to creating a stunning WordPress site from your Figma designs. Remember to choose a reliable page builder like Elementor for a seamless and user-friendly experience.
When it comes to converting a Figma design to a WordPress website, choosing a suitable WordPress theme plays a crucial role in ensuring that your website looks and functions as intended.
In this section, we will discuss how to select a theme that is compatible with Elementor, aligns with your Figma design, and meets your website requirements.
Exploring Elementor
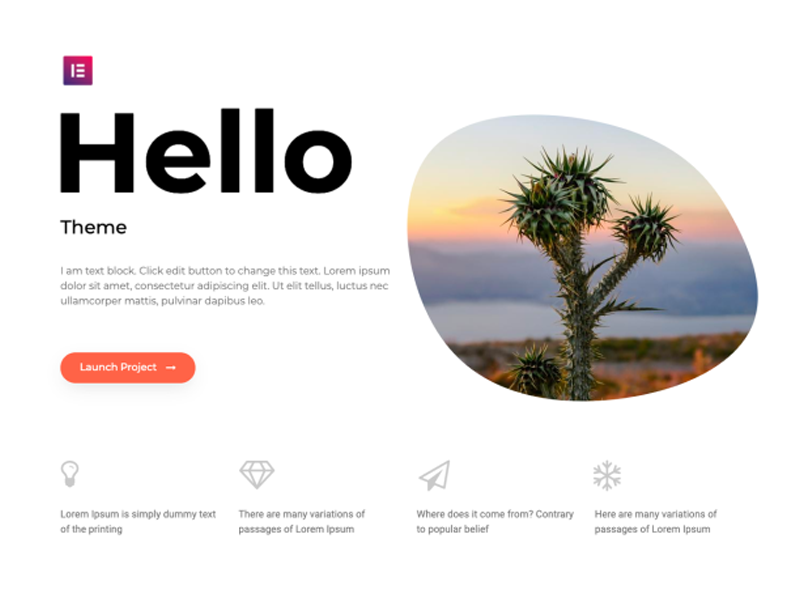
Elementor is a popular WordPress page builder that allows users to design their websites using a simple drag-and-drop interface. To ensure seamless integration with Elementor, it's essential to choose a WordPress theme that is compatible with this page builder.
Two highly recommended generic themes that work well with Elementor are Specular, Astra and Hello Elementor. Astra is a lightweight, customizable theme that offers excellent performance and flexibility, while Hello Elementor is the official theme created by the Elementor team, ensuring optimal compatibility and smooth operation.
Choose a theme that aligns with the Figma design
When choosing a Elementor WordPress theme, it's essential to consider how well it aligns with your Figma design and website requirements.
To do this, take a close look at the design elements and layout of your Figma project and compare them to the available themes.
Keep in mind that some themes may require additional customization to match your design, so it's crucial to select a theme that offers the necessary flexibility and customization options.
Furthermore, consider your website requirements such as performance, responsiveness, and accessibility.
Installing and activating the chosen WordPress theme
Once you've selected a suitable WordPress theme, it's time to install and activate it on your website. To do this, follow these simple steps:
- Login to your WordPress dashboard and navigate to Appearance > Themes.
- Click on the “Add New” button at the top of the page.
- Search for the desired theme using the search bar or upload a theme you've downloaded from a third-party source.
- Click on the “Install” button, and once it's installed, click on the “Activate” button to enable the theme on your website.
With the theme installed and activated, you can now start customizing your website theme using the Elementor page builder, ensuring that it aligns with your Figma design and meets your website requirements.
In the following section, we'll discuss how to convert a Figma design to a WordPress website using Elementor, a popular page builder. Elementor is an ideal tool for beginners and professionals alike, as it offers a user-friendly drag-and-drop interface that streamlines the design process.
Additionally, using Elementor can save time when converting Figma designs to WordPress websites. Let's dive into the steps you'll need to follow:
Designing the WordPress Website with Elementor
Begin by creating a new page in your WordPress dashboard. This page will serve as the canvas for your Figma design conversion.
To do this, navigate to Pages > Add New. Give your new page a title that reflects the purpose of the design, and then click “Publish.”
Launching Elementor's live editor
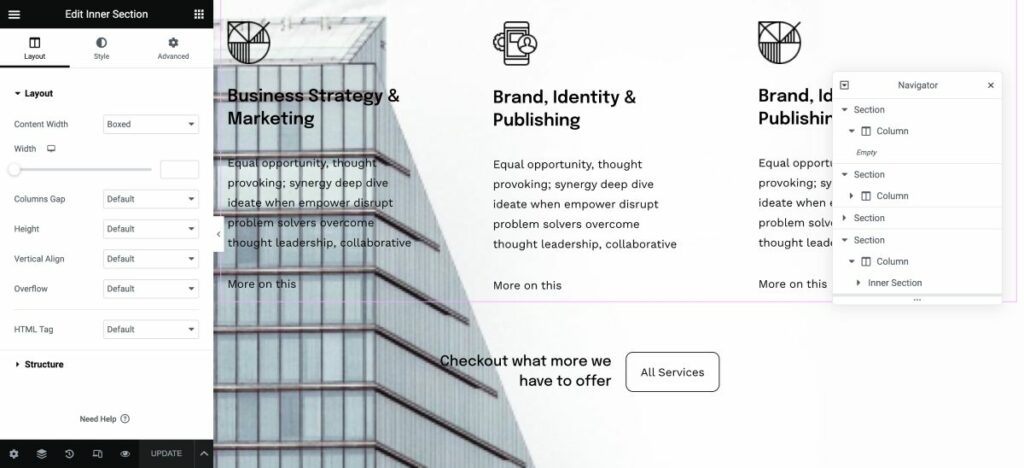
Once your new page is published, it's time to launch Elementor's live editor. Click on the “Edit with Elementor” button, which will open the visual design interface.
Elementor's live editor allows you to see real-time changes as you customize your design, ensuring that the final result closely matches your Figma design.
Designing the page layout using Elementor
With Elementor's live editor open, you can now start designing your page layout. Utilize the drag-and-drop interface to add and customize various elements, such as text, images, and buttons, to match your Figma design.
Elementor offers a wide range of pre-built blocks that you can use to build your customized theme. As you design each page, you can easily add content to ensure a seamless transition from Figma to WordPress.
Translating Figma design components into Elementor widgets and sections
When converting a Figma design to WordPress, you'll first need to translate the design components into Elementor widgets and sections. This is a straightforward process that involves:
- Exporting your Figma design components as images or SVG files
- Importing the exported components into Elementor
- Mapping the Figma components to corresponding Elementor widgets and sections
For a visual reference, you can watch this YouTube video that demonstrates the process of translating Figma designs into Elementor:
Adding elements using Elementor's widgets
Once you have mapped your Figma components to Elementor widgets and sections, you can start adding various elements like images, text, headings, buttons, and more to your WordPress website.
Elementor offers a wide range of widgets that make it easy to create the desired layout and design.
For instance, you can use the Image widget to add images, the Heading widget for headings, and the Button widget for interactive buttons.
Simply drag and drop the widgets from the Elementor panel onto your page, and customize them as needed.
Styling the elements
The final step in converting your Figma design to WordPress is to style the elements on your page to match the original Figma design. Elementor offers extensive customization options that allow you to fine-tune the appearance of each element, ensuring a pixel-perfect match with your Figma design.
Some of the customization options available in Elementor include:
- Typography: Adjust the font size, style, and color to match your design
- Spacing: Control the margin and padding around elements for precise positioning
- Colors: Apply background colors, gradients, or images to elements
- Border and shadow: Add borders, border-radius, and box-shadow to elements
In the words of a Elementor user, “Using page builders like Elementor is the easiest of all, as it's all about drag & drop, making it an ideal method for even beginners.” So go ahead and give it a try, and you'll be amazed at how quickly you can bring your Figma designs to life in WordPress!
When it comes to converting Figma designs into a fully functional WordPress website, integrating dynamic content and functionality is crucial for a seamless and engaging user experience.
Incorporating WordPress Dynamic Content
WordPress offers a variety of dynamic content options, such as posts, pages, and custom post types, to help bring your Figma designs to life. By using these options, you can ensure that your website stays fresh and up-to-date, as content will automatically update when new information is added.
To incorporate dynamic content into your Figma-to-WordPress conversion, you'll need to create custom templates and assign them to the corresponding content types, such as blog posts or product pages.
This will allow the dynamic content to be displayed seamlessly within your Figma design.
Adding Interactive Elements, Forms, and Other Desired Functionality
Elementor's widgets and plugins offer a plethora of options for adding interactive elements, forms, and other desired functionality to your Figma-to-WordPress conversion. With over 80 design elements available, you can easily add engaging features like sliders, galleries, and social media icons to your website.
Additionally, Elementor's vast library of plugins allows for further customization and functionality, such as adding contact forms or e-commerce capabilities.
Improvements & Optimization
When converting your Figma design to a WordPress site, it's crucial to implement responsive design principles.
This ensures that your website looks and functions optimally on various devices, such as smartphones, tablets, and desktops.
One effective way to achieve responsiveness is to use flexible grids and layouts, as well as scalable images and media queries.
I recommend you use Flex Box Containers:
Testing the website's responsive design
Once you've implemented responsive design principles, it's essential to test your website's responsiveness and compatibility across different browsers and devices. 3
This ensures a seamless user experience for visitors, regardless of their preferred device or browser.
To test your website, you can use various tools like BrowserStack, LambdaTest, or Responsinator. These platforms simulate how your website appears on different devices and browsers, allowing you to identify and fix any issues that may arise.
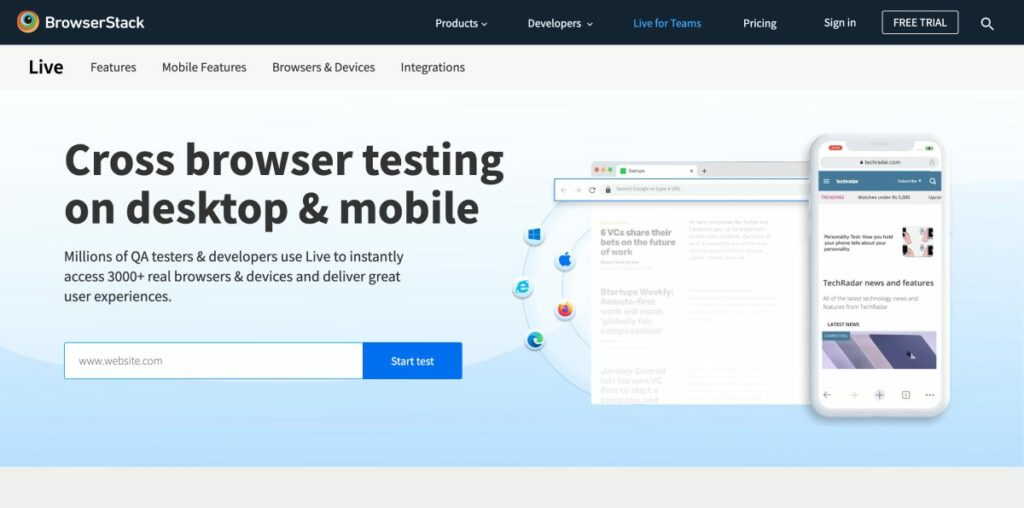
Additionally, it's important to conduct manual testing on actual devices, as this can help you uncover issues that may not be apparent in simulated environments.
By incorporating responsive design principles and thoroughly testing your website, you'll ensure a seamless browsing experience for your visitors.
This not only increases user satisfaction but also helps boost your website's search engine rankings, as Google and other search engines prioritize mobile-friendly sites in their search results.
When converting Figma designs to WordPress, optimizing performance and speed is crucial for delivering a satisfying user experience.
Optimize Images
One aspect to focus on is optimizing images and media files for faster loading times. Large images can significantly slow down a website, so it's essential to compress images without sacrificing quality.

There are various tools available, such as TinyPNG and Smush, which can help you achieve this. Additionally, using responsive images and serving them in WebP format can further enhance your website's performance.
Figma's WebP Images plugin can be useful in this regard.
We have also written a guide on how to resize and optimize images in WordPress.
Use Cache and Minify
Caching and minifying assets is another effective strategy to enhance website performance. Caching involves temporarily storing frequently accessed data to reduce server load, while minifying refers to the process of removing unnecessary characters from code files without affecting their functionality.
Both techniques can be achieved through performance optimization plugins like W3 Total Cache and WP Super Cache. These plugins can significantly improve your website's loading speed and overall performance.
Fix Issues and Bugs
As you test your converted WordPress website, you may come across issues or bugs that need to be addressed. It is essential to identify and fix these problems promptly to ensure a seamless user experience.
For instance, you may need to adjust CSS properties or tweak the HTML structure to fix layout issues, or you may need to optimize images to improve your site's performance.
It's also crucial to check for broken links, ensure that your website is SEO-friendly, and validate your code using tools like the W3C Markup Validation Service.
Additionally, it's essential to test your website's load times and optimize them to ensure an excellent user experience. Tools like GTmetrix and Google PageSpeed Insights can help you analyze and improve your website's performance.
Conclusion
Overall, converting a Figma design to a WordPress site requires careful planning and execution to ensure a successful launch. By diligently preparing your WordPress site, transferring your Figma design to the live environment, and performing thorough checks and testing, you'll be well on your way to unveiling a polished and professional website that showcases your design skills and meets your users' needs.
As an expert in the field, I've seen firsthand how using platforms like Figma and Elementor can produce stunning results for clients.
With Figma's robust design capabilities and Elementor's user-friendly page building, creating a seamless Figma to WordPress site has never been easier.
Don't hesitate to explore these tools and resources to help you create a standout website that sets you apart from the competition.
As we've explored in this article, converting Figma designs to WordPress is a straightforward process, especially when using Elementor as your page builder of choice.
The combination of Figma's all-in-one design platform and Elementor's powerful features allows for seamless and efficient website creation. Let's recap the process and discuss why Elementor is a game-changer for WordPress users.
With the powerful combination of Figma and Elementor, creating visually stunning and functional WordPress websites has never been easier.
We encourage you to dive deeper into Elementor's features and customization options, and explore the wealth of resources available through the Figma community. When it comes to converting Figma to WordPress, these two tools are a match made in design heaven.
As one of the co-founders of Codeless, I bring to the table expertise in developing WordPress and web applications, as well as a track record of effectively managing hosting and servers. My passion for acquiring knowledge and my enthusiasm for constructing and testing novel technologies drive me to constantly innovate and improve.
Expertise:
Web Development,
Web Design,
Linux System Administration,
SEO
Experience:
15 years of experience in Web Development by developing and designing some of the most popular WordPress Themes like Specular, Tower, and Folie.
Education:
I have a degree in Engineering Physics and MSC in Material Science and Opto Electronics.






Comments